Setting up a Haskell environment with stack, ghcid and IntelliJ
This is a story about getting started with the wonderful Haskell Book which every aspiring programmer should read to be instantly turned into a better version of themselves.
The stack🔗
IntelliJ🔗
At some point during my career I've chosen to stop messing around with subpar editors and their plugins and just use IntelliJ.
It's got all the refactoring foo one could ask for, plugins for all major programming languages plus a damn good debugger.
Long time vim-ers and emacs-ers and even young and hip vscode-ers: I know you can get the same by using the sum of 100 plugins and tweaking your configs, settings, etc. for months. I prefer to spend my time elsewhere.
Hence, I'll be using IntelliJ as the main IDE for the Haskell Book setup.
Install IntelliJ by following the comprehensive guide provided by Jetbrains or by using the preferred package manager for your OS.
(I live on Arch Linux so in my case this is trizen intellij-idea)
The IntelliJ Haskell Plugin🔗
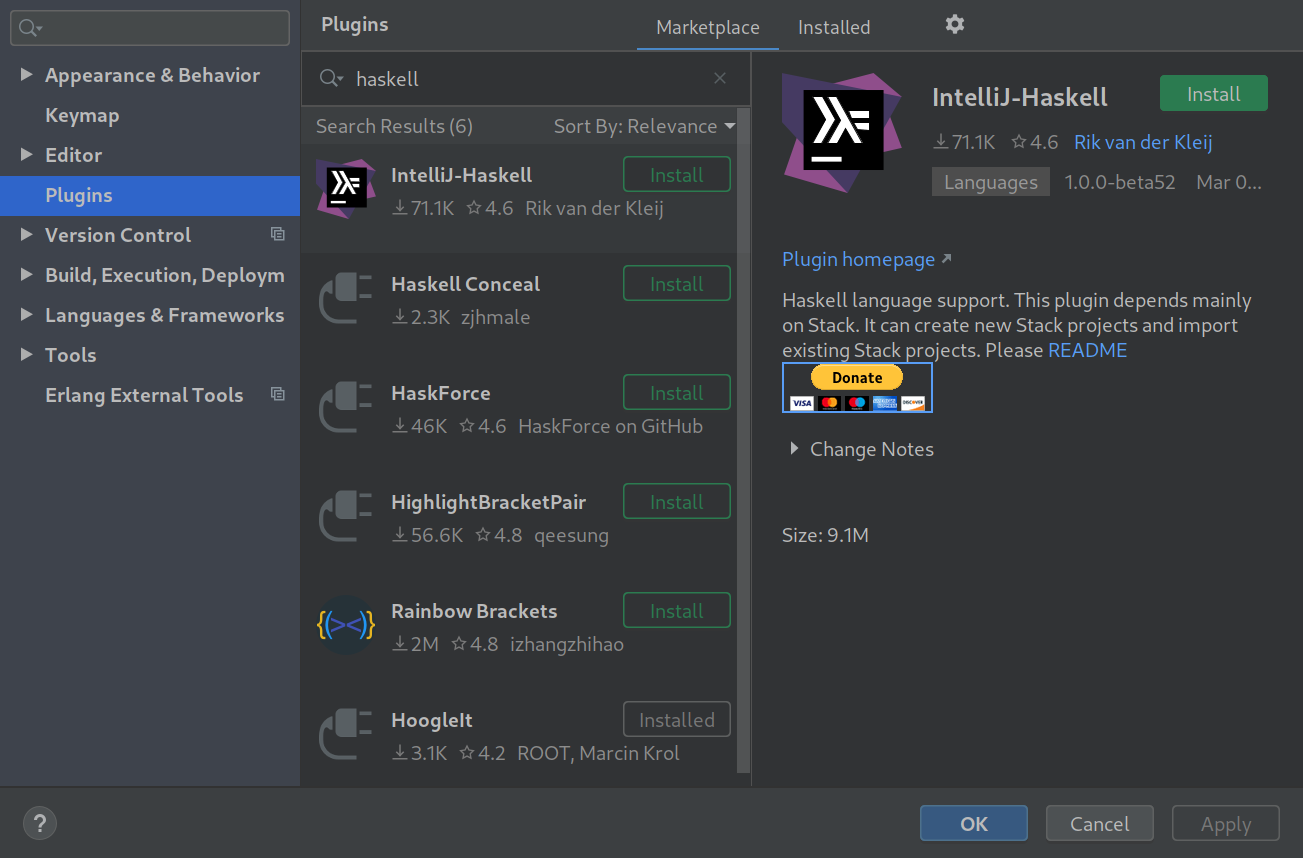
After booting up IntelliJ, head into Settings -> Plugins -> Marketplace and search for 'haskell', then install the 'IntelliJ-Haskell' plugin.
You can close IntelliJ for now as we'll be importing a project created in the next part to get started.
Stack🔗
Next in the stack comes stack - pun intended.
It's the Swiss army knife of the Haskell ecosystem when it comes to application lifecycle management.
Installation is pretty straightforward via the provided install script:
or
(again, or Arch this is trizen stack-bin)
Next, let's initialize a stack project:
This will create a standard directory hierarchy:
- the entrypoint of the project is
app/Main.hs - all
Maindoes is import theLibpackage whose source code is insrc/Lib/hsand call a default function calledsomeFunc - spec tests can be found under
test/ - stack's own configuration resides in
stack.yaml: a lot of settings can be tweaked here, but they are out of this article's scope.
ghcid🔗
ghcid is a super-simple wrapper over the de facto Haskell REPL called GHCi. It runs a separate GHCi process as a daemon, recompiles the source code on every change and displays compilation errors. (or the output of any specified function)
Install it via stack:
Tying it all together🔗
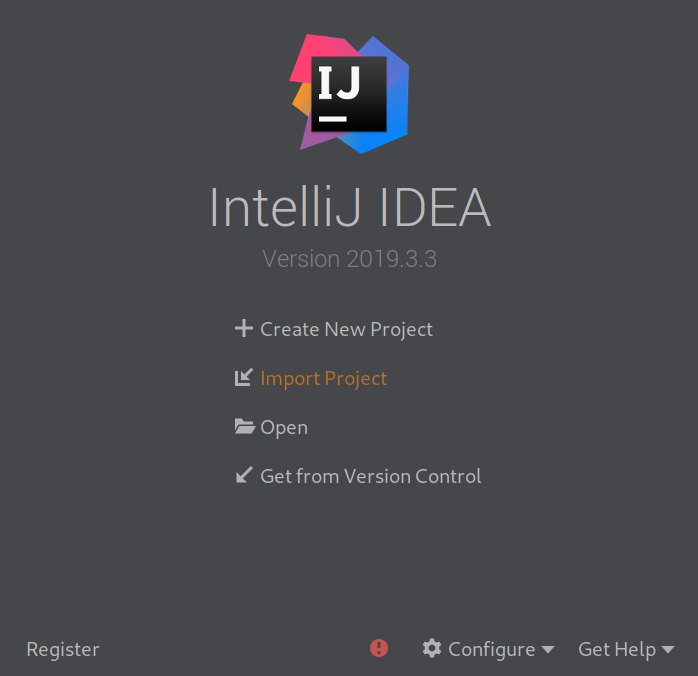
Now that we have a project managed by stack it's time to import it into IntelliJ.
On the startup screen click "Import Project", navigate to the directory where you created the stack project and click "OK".
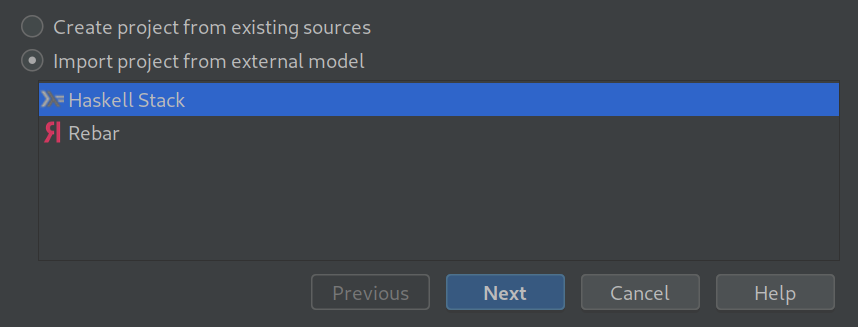
On the next screen select "Import project from external model" and select "Haskell Stack" as the model.
Next, set up the SDK by clicking "Configure", navigate to the location of the stack binary and click "OK".
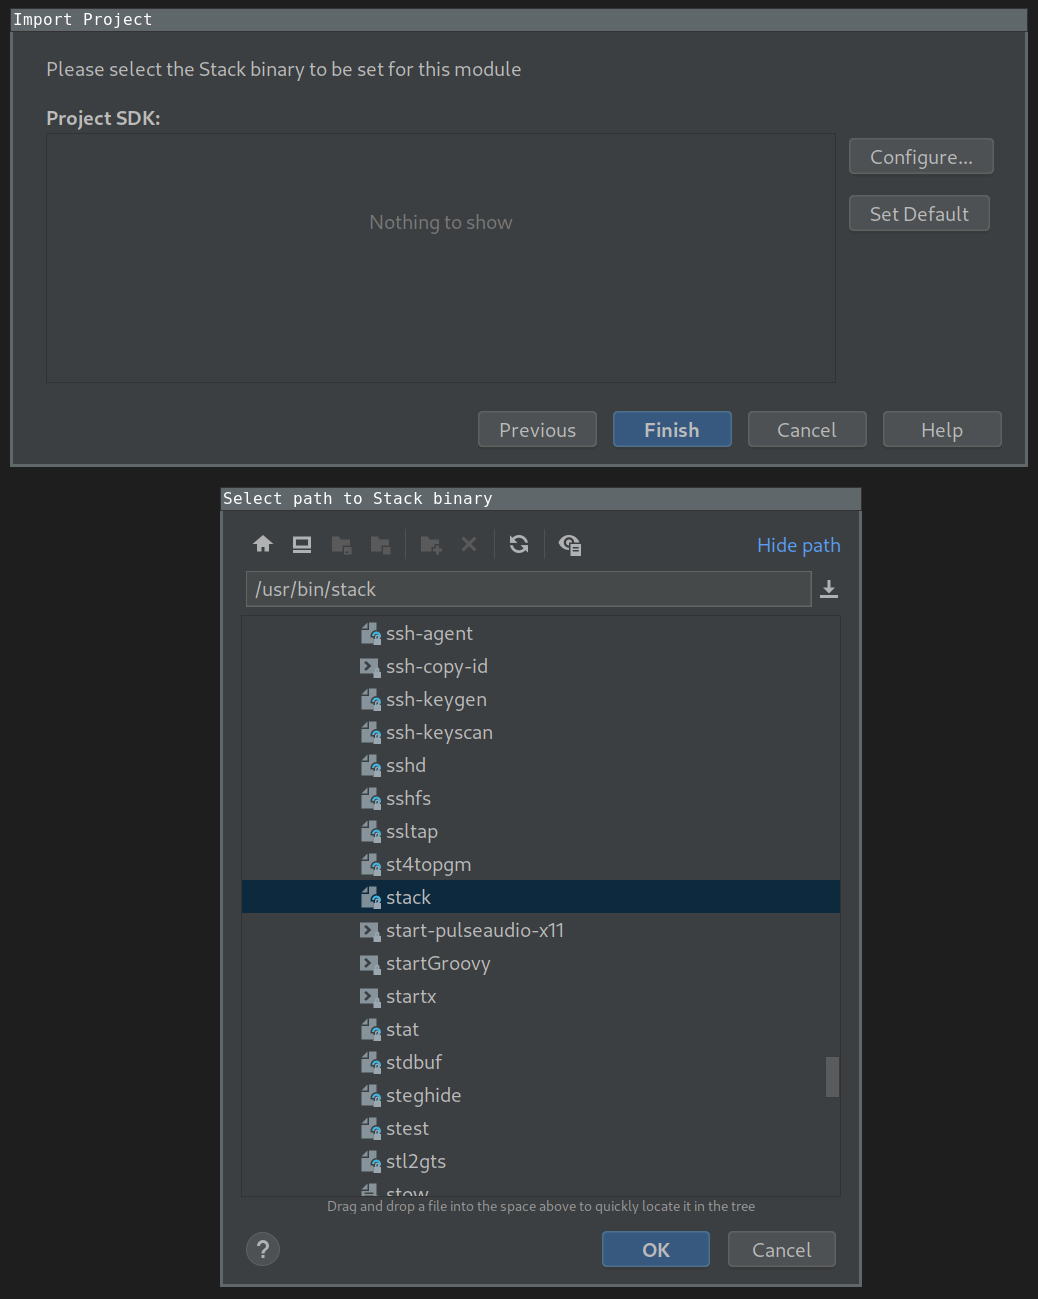
On most systems the location of a binary can be found by using the which or whereis commands.
If everything worked correctly you should now have a fully setup Haskell project in IntelliJ. Some of the things you might notice / do:
- the source and tests directories are pre-selected so you don't have to set them up yourself
- run unit tests by creating a new run configuration and selecting 'Haskell Stack -> Haskell Stack Tester' as the type. Defaults work out of the box.
- navigate to standard library function using the normal IntelliJ shortcuts
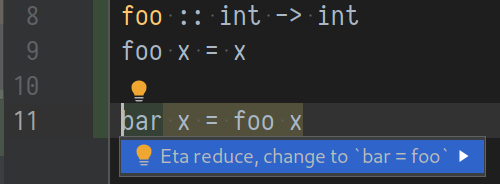
- get refactor suggestions
Live coding using ghcid🔗
And a bit of magic for the final part. Open up the IntelliJ terminal (Alt+F12) and run:
This will reload and execute the main module inside stack's REPL (which is usually ghci) whenever a source code file is saved.